


Along with the PhaseAnimator, SwiftUI launched the KeyframeAnimator in iOS 17, permitting builders to create superior animations utilizing keyframes. On this tutorial, we are going to delve into the KeyframeAnimator and learn to create a extra intricate animation.
The PhaseAnimator view (or modifier), which we mentioned within the earlier tutorial, supplies builders with the flexibility to create multi-step animations over a sequence of phases. By specifying the specified animations for every section, the PhaseAnimator robotically animates the content material every time the section adjustments. It simplifies the method of constructing advanced animations by dealing with the transitions between phases for you.
Working with KeyframeAnimator
For phase-based animation, it really works nicely for animations that may be represented as discrete states. When a state transition occurs, all properties are animated concurrently. As soon as the animation for a selected state is accomplished, SwiftUI easily transitions to the subsequent state. This course of continues throughout all animation phases.
Keyframe-based animation is designed to accommodate a particular sort of animation the place every property is animated independently. By using keyframes, we are able to animate particular person properties individually, which in flip provides us higher flexibility and management over our animations.
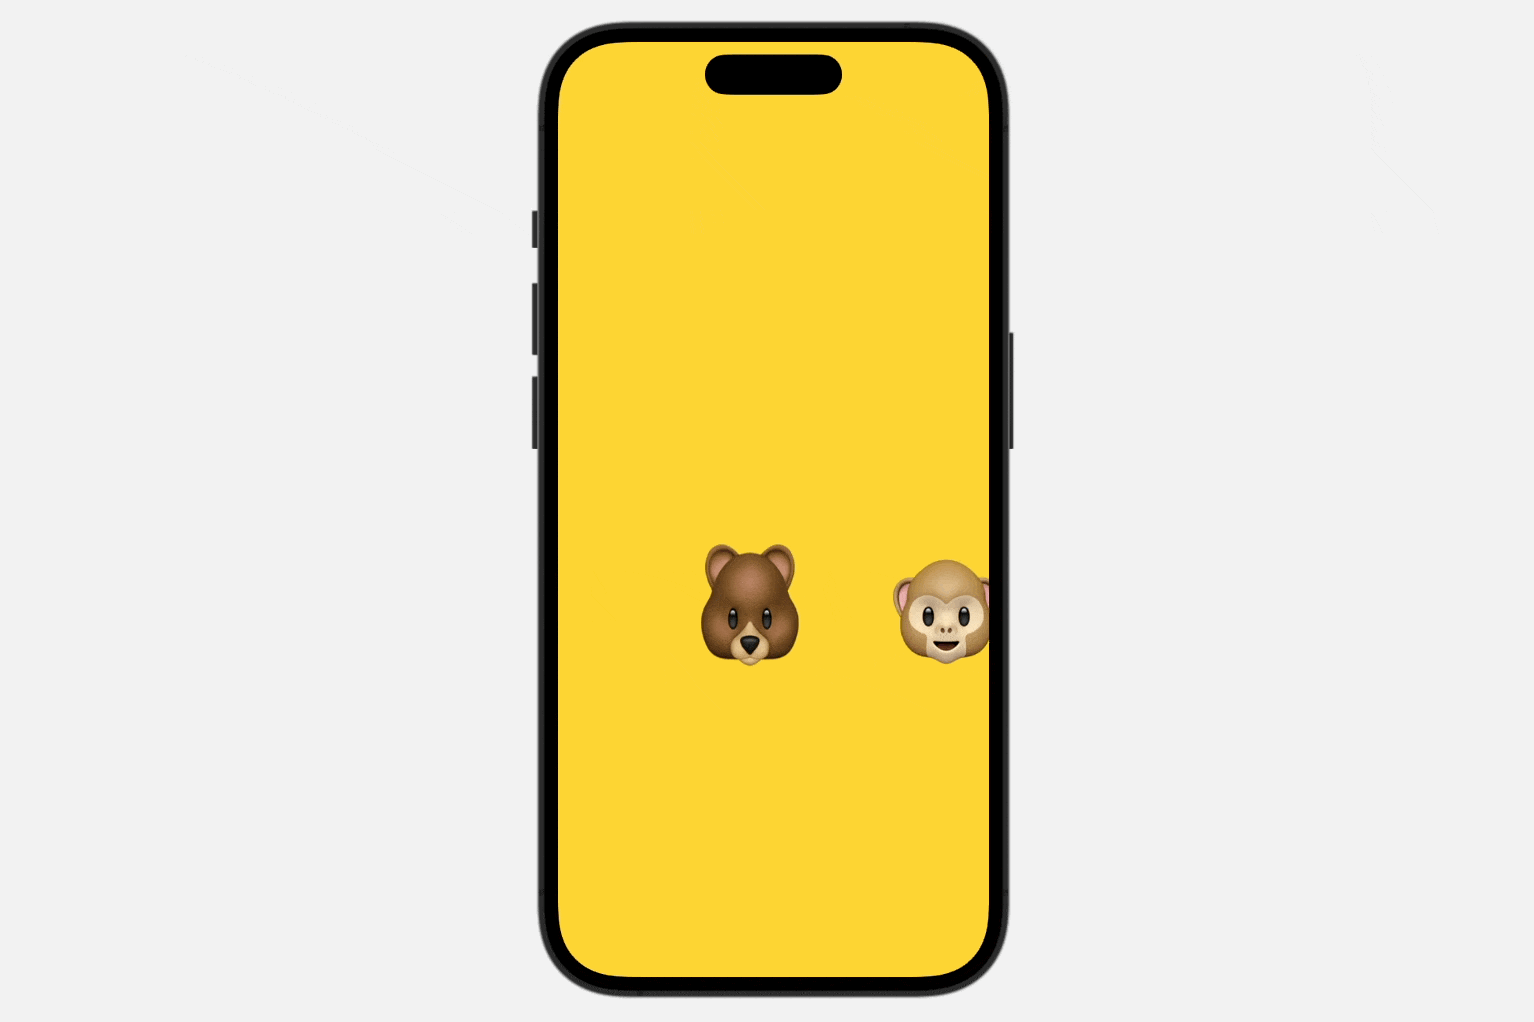
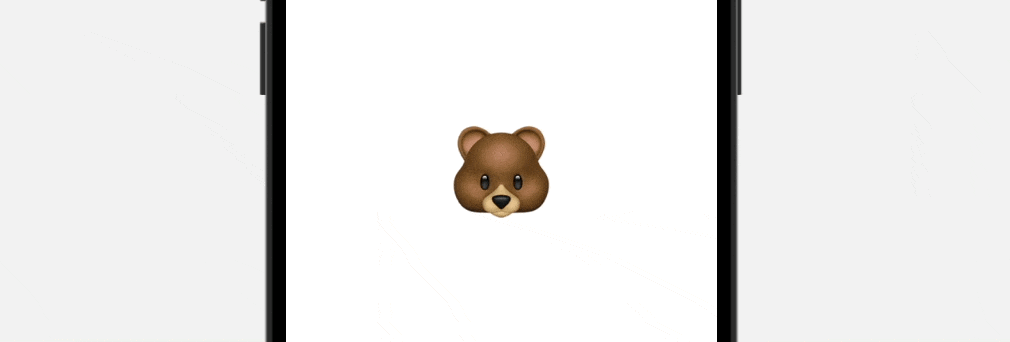
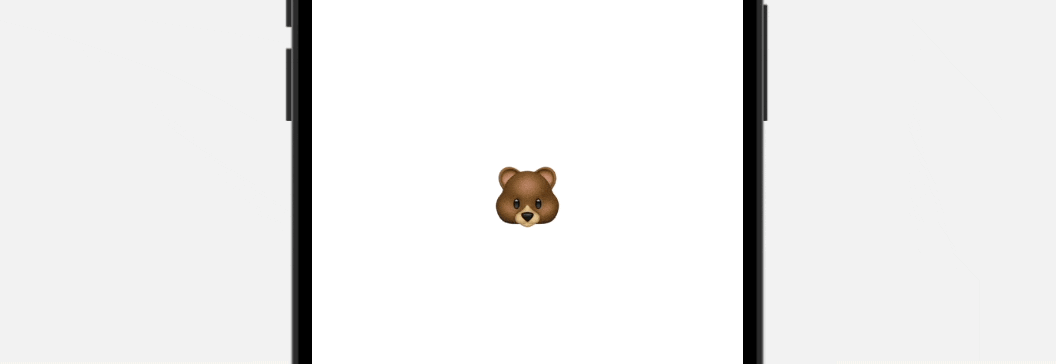
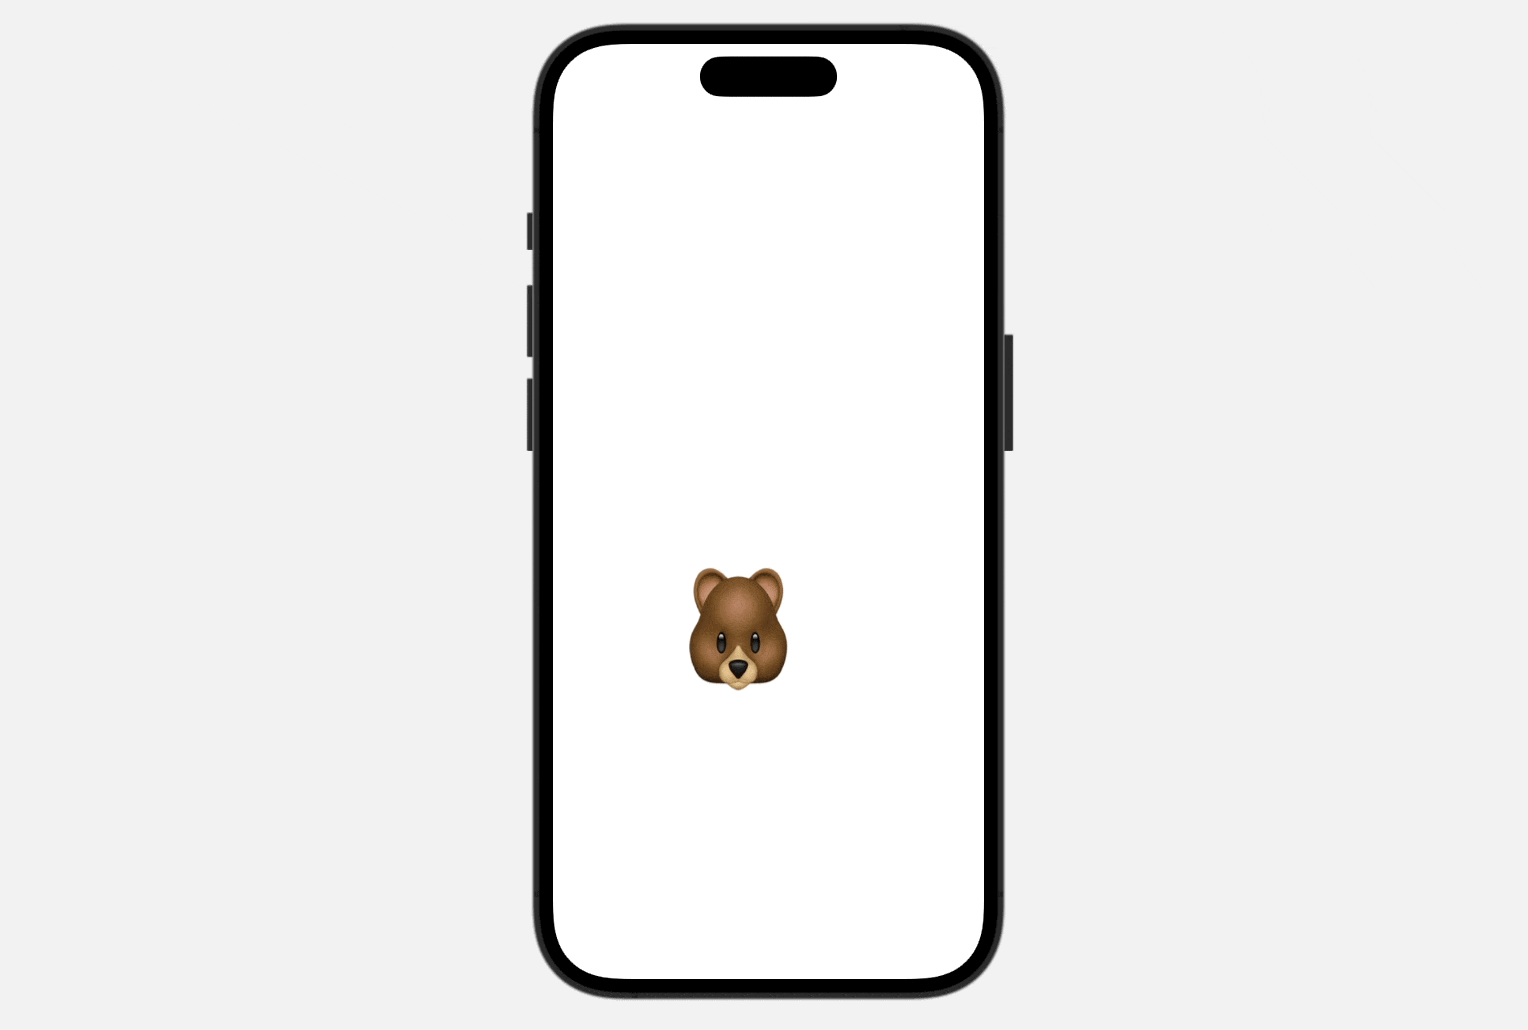
Let’s attempt to animate an emoji icon (as illustrated above) and you’ll perceive how we are able to use keyframe animator.
Defining the Animation Values
As talked about earlier, keyframe-based animation permits us to animate particular person properties independently. To make the most of the keyframe animator, we start by defining a struct that encompasses all of the properties we want to animate. Right here’s an instance:
struct AnimationValues {
    var scale = 1.0
    var verticalStretch = 1.0
    var translation = CGSize.zero
    var opacity = 1.0
}
The preliminary values outline the preliminary state of the emoji icon. Later, we are going to change every of the properties to scale, stretch, and transfer the emoji icon.
Making use of the Keyframe Animator
Within the physique closure, let’s replace the code like this to use the keyframe animator:
Textual content("🐻")
    .font(.system(measurement: 100))
    .keyframeAnimator(initialValue: AnimationValues()) {
                content material, worth in

        content material
            .scaleEffect(worth.scale)
            .scaleEffect(y: worth.verticalStretch)
            .offset(worth.translation)
            .opacity(worth.opacity)

    } keyframes: { _ in

        KeyframeTrack(.scale) {
            CubicKeyframe(0.8, length: 0.2)
        }
    }
As normal, we use a Textual content view to show the emoji icon. To create a keyframe-based animation, we connect the keyframeAnimator modifier to the textual content view.
The initialValue parameter is supplied with the preliminary values that the keyframes will animate from. Inside the view builder closure, now we have entry to 2 parameters. The primary parameter is a proxy worth that represents the modified view. The second parameter holds the interpolated worth generated by the keyframes.
We apply the specified animation results to the content material view by adjusting its scale, offset, and opacity. Lastly, it’s the keyframes parameter. That is the place we outline the worth adjustments that happen over time. These outlined keyframes might be chargeable for making use of the corresponding animations to the required worth.
Keyframes are organized into tracks, with every monitor governing a definite property of the animated sort. Within the offered code snippet, we particularly designated the keyframe monitor for the dimensions property utilizing the CubicKeyframe sort. We modify the scale of the emoji, decreasing it to 80% of its unique measurement.
When you’ve made the code adjustments, it’s best to be capable to see the animation immediately within the preview canvas. The keyframe animator animates the scale change and repeats it repeatedly.
Keyframe Varieties
Whereas we use the CubicKeyframe sort, there are literally 4 several types of keyframes obtainable:
LinearKeyframe– it interpolates linearly in vector area from the earlier keyframe.SpringKeyframe– makes use of a spring perform to interpolate to the goal worth from the earlier keyframe.CubicKeyframe– makes use of a cubic Bézier curve to interpolate between keyframes.MoveKeyframe– instantly jumps to a worth with out interpolation.
Attempt to discover and check completely different keyframe sorts and durations to see their behaviors in motion. By experimenting with numerous keyframe sorts and adjusting the length, you may acquire a deeper understanding of how they affect and form your animations.
At the moment, we solely apply a single change for the scale property. You’re free to outline different worth adjustments over time. Right here is an instance:
KeyframeTrack(.scale) {
    CubicKeyframe(0.8, length: 0.2)
    CubicKeyframe(0.6, length: 0.3)
    CubicKeyframe(1.0, length: 0.3)
    CubicKeyframe(0.8, length: 0.2)
    CubicKeyframe(0.6, length: 0.3)
    CubicKeyframe(1.0, length: 0.3)
}
The code describes the dimensions issue at particular occasions inside the animation. Within the preview canvas, you’ll discover a smoother and extra fluid animation for the emoji icon.
A number of Keyframe Tracks
Up till now, now we have targeted on a single keyframe monitor to change the dimensions issue. Nevertheless, keyframes present the flexibility to animate a number of results independently by defining separate tracks, every with its personal distinctive timing. By incorporating a number of tracks, we are able to concurrently animate numerous properties, enabling us to create extra superior animations.
In the identical demo, we are able to outline separate keyframe tracks for the vertical stretch, translation, and opacity properties. Right here is the pattern code:
Textual content("🐻")
    .font(.system(measurement: 100))
    .keyframeAnimator(initialValue: AnimationValues()) { content material, worth in

        content material
            .scaleEffect(worth.scale)
            .scaleEffect(y: worth.verticalStretch)
            .offset(worth.translation)
            .opacity(worth.opacity)

    } keyframes: { _ in
        KeyframeTrack(.verticalStretch) {
            LinearKeyframe(1.2, length: 0.1)
            SpringKeyframe(2.0, length: 0.2, spring: .snappy)
            CubicKeyframe(1.05, length: 0.3)
            CubicKeyframe(1.2, length: 0.2)
            CubicKeyframe(1.1, length: 0.32)
            CubicKeyframe(1.2, length: 0.2)
            CubicKeyframe(1.05, length: 0.25)
            CubicKeyframe(1.3, length: 0.23)
            CubicKeyframe(1.0, length: 0.3)
        }

        KeyframeTrack(.scale) {
            CubicKeyframe(0.8, length: 0.2)
            CubicKeyframe(0.6, length: 0.3)
            CubicKeyframe(1.0, length: 0.3)
            CubicKeyframe(0.8, length: 0.2)
            CubicKeyframe(0.6, length: 0.3)
            CubicKeyframe(1.0, length: 0.3)
        }

        KeyframeTrack(.translation) {
            SpringKeyframe(CGSize(width: 100, top: 100), length: 0.4)
            SpringKeyframe(CGSize(width: -50, top: -300), length: 0.4)
            SpringKeyframe(.zero, length: 0.2)
            SpringKeyframe(CGSize(width: -50, top: 200), length: 0.3)
            SpringKeyframe(CGSize(width: -90, top: 300), length: 0.3)
            SpringKeyframe(.zero, length: 0.4)
        }

        KeyframeTrack(.opacity) {
            LinearKeyframe(0.5, length: 0.2)
            LinearKeyframe(1.0, length: 0.23)
            LinearKeyframe(0.7, length: 0.25)
            LinearKeyframe(1.0, length: 0.33)
            LinearKeyframe(0.8, length: 0.2)
            LinearKeyframe(1.0, length: 0.23)
        }
    }
By using a number of keyframe tracks, we are able to obtain an intriguing animation impact. On this case, the emoji icon will transfer round randomly, whereas its opacity varies at particular closing dates.
By default, keyframe animator retains operating the animation repeatedly. If you wish to cease the animation, you may set the repeat parameter to false.
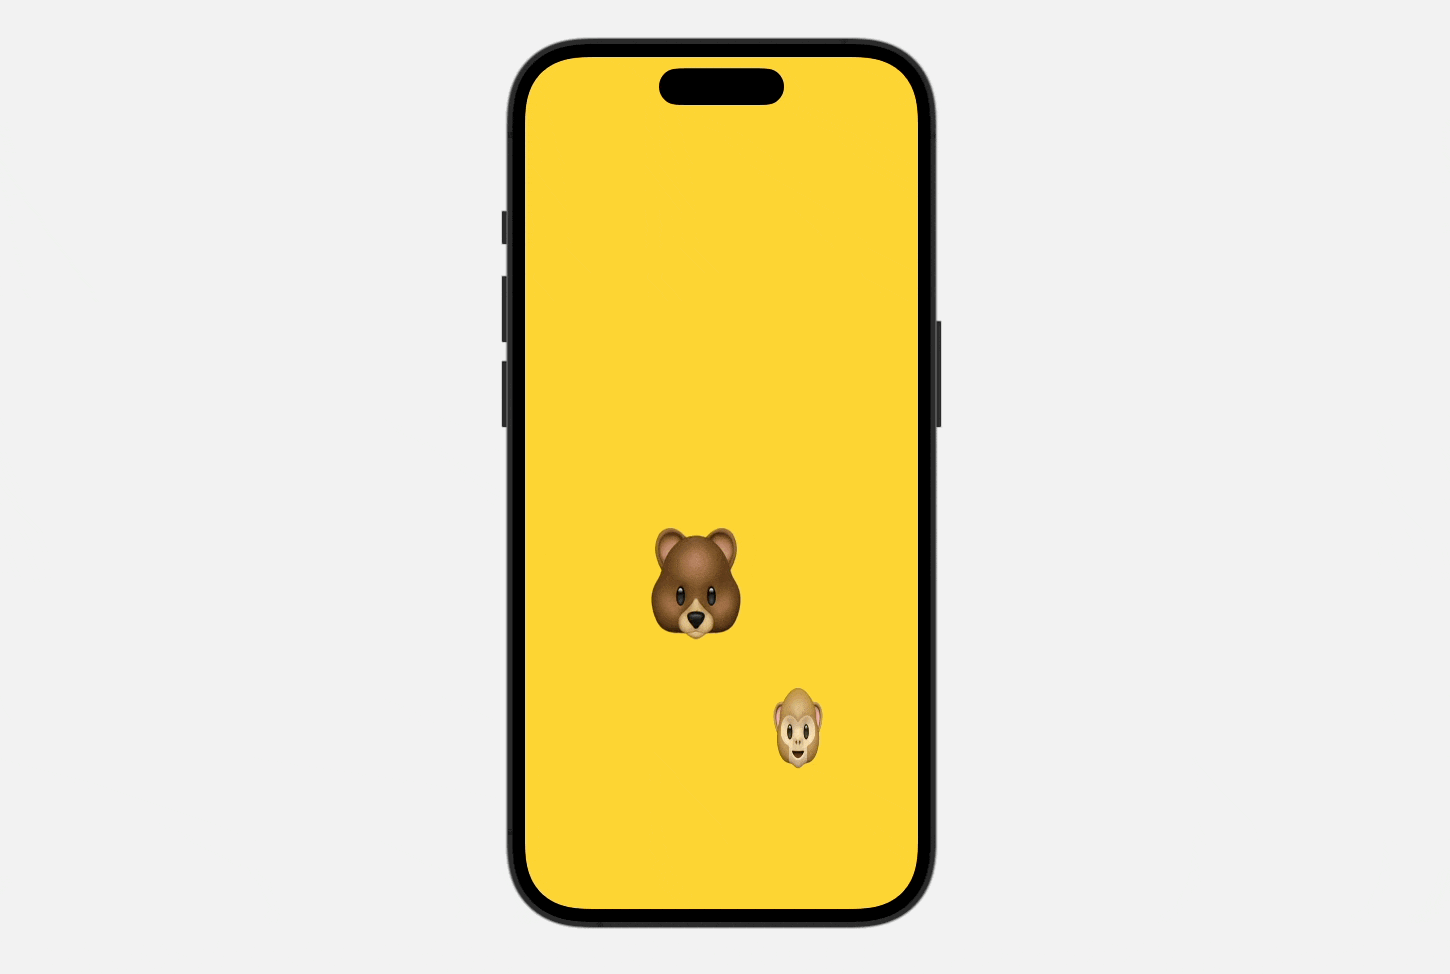
You need to use ZStack and overlay one other emoji icon to create animation as proven beneath. I’ll depart this as an train so that you can discover and implement.
Abstract
KeyframeAnimator is a precious function launched in iOS 17. In distinction to the PhaseAnimator modifier, this new software in SwiftUI empowers builders to create superior animations utilizing keyframes.
By leveraging keyframes, builders can outline particular closing dates and exactly manipulate the properties of their animations. This enhanced management permits for the creation of intricate and dynamic visible results, leading to a extra fluid animations.
For those who discover this tutorial helpful, don’t neglect to take a look at our Mastering SwiftUI e-book to dive deeper into SwiftUI.